 Note:
A significant amount of your time installing a VERSA-LOK wall will be
spent on the leveling pad and the base course.
Note:
A significant amount of your time installing a VERSA-LOK wall will be
spent on the leveling pad and the base course.
If the wall base is level and properly aligned, the rest of the installation will go much more smoothly. Take your time on these critical steps.
With the leveling pad installed and level, you can start the base course. The first step is to carefully plan the location and alignment of the wall base.
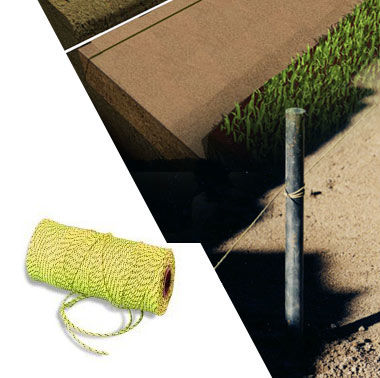
Place alignment guides along the planned backs of the units, which are smooth and consistent, rather than the irregular, split-front faces. For straight walls, pull a stringline just slightly behind (about 1/8 inch) the planned back of the units. This keeps base units from contacting the stringline and possibly pushing it out of alignment.
Remember to plan for the 3/4-inch setback in each 6-inch-high course by placing the wall base forward of the planned top wall alignment.
If the base of the wall steps up along the length of the wall, be sure to account for the 3/4-inch setback that will occur at each step up.
For curved walls, special layout methods are needed. You must account for the change in the radius of the curve that occurs at each setback. For more information on how to lay out curved walls, see Technical Bulletin No. 3.
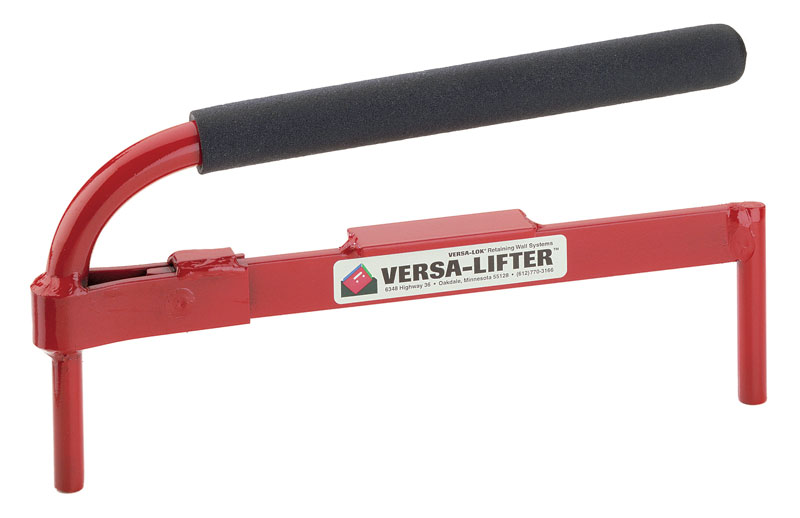
Using the VERSA-Lifter to hold a Standard unit, straddle the leveling pad and gently place the unit in the center of the leveling pad. The front faces of adjacent units should fit tightly together, and unit bottoms should contact the leveling pad completely.
Check the alignment along the back of the unit. For slight corrections, carefully nudge the unit horizontally. Avoid pushing down on the unit; this may disturb the leveling pad and cause unevenness. If the unit must be repositioned, pick the unit up vertically with a VERSA-Lifter and gently place it back down.
Use a torpedo level to ensure the unit is level both front to back and side to side. Use your 4-foot level to level from side to side across multiple units. This is a critical step as each individual unit may be level, but they may not be level with each other. Tap high points with a rubber mallet, heavy hammer or hand tamper to achieve level.
Take the time to get your base course level. If your base course is not level, you can be sure the rest of your wall will not be level either. Even minor unevenness in the base course is amplified as you build your wall, and it’s extremely difficult to correct after several courses are installed.
When the entire base course is installed, replace and compact the soil in front and behind the units. This becomes your wall embedment.
Installation Tip:
Use a
VERSA-Lifter
to install the base course. The
VERSA-Lifter
makes for easy, balanced lifting and placement - keeping your leveling pad/sand layer level.
If the grade in front of the wall changes elevation along the length of the wall, always start your base course at the lowest point and work up.
The leveling pad should be stepped up in 6-inch increments to match the height of the Standard units. Step up often enough to avoid burying more units than is needed to maintain required embedment.
 Caution: Make
sure you have enough material and proper compaction under the units
where the leveling pad is stepped up. Without sufficient material or
compaction, this area could settle and cause a dip in your wall.
Caution: Make
sure you have enough material and proper compaction under the units
where the leveling pad is stepped up. Without sufficient material or
compaction, this area could settle and cause a dip in your wall.
 Installation Tip:
Use a
VERSA-Lifter
to install the base course. The
VERSA-Lifter
makes
for easy, balanced lifting and placement - keeping your leveling
pad/sand layer level.
Installation Tip:
Use a
VERSA-Lifter
to install the base course. The
VERSA-Lifter
makes
for easy, balanced lifting and placement - keeping your leveling
pad/sand layer level.
